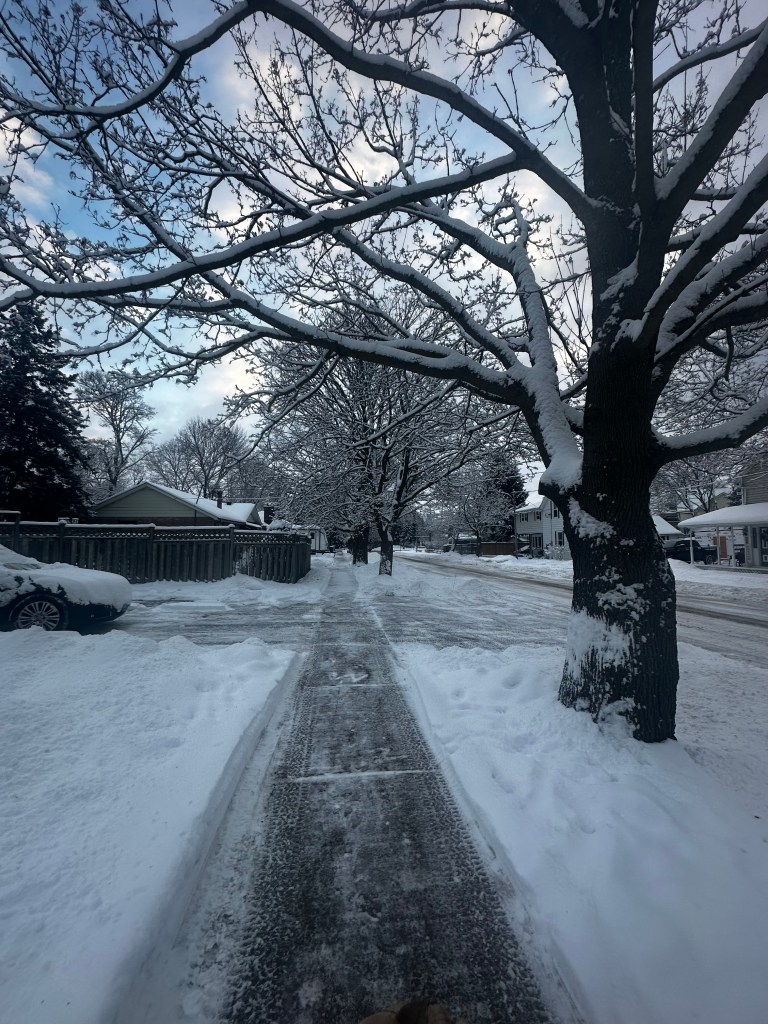
It’s a typical winter day here in Ontario. The thermometer reads -18 degrees, and the forecast promises 25-30 cm of snow (yikes!). This is the part of winter I struggle with most. The days feel dull, the sun is scarce, and seasonal depression starts to creep in. Sometimes, we just need a little pick-me-up, something to brighten the day and lift our spirits!
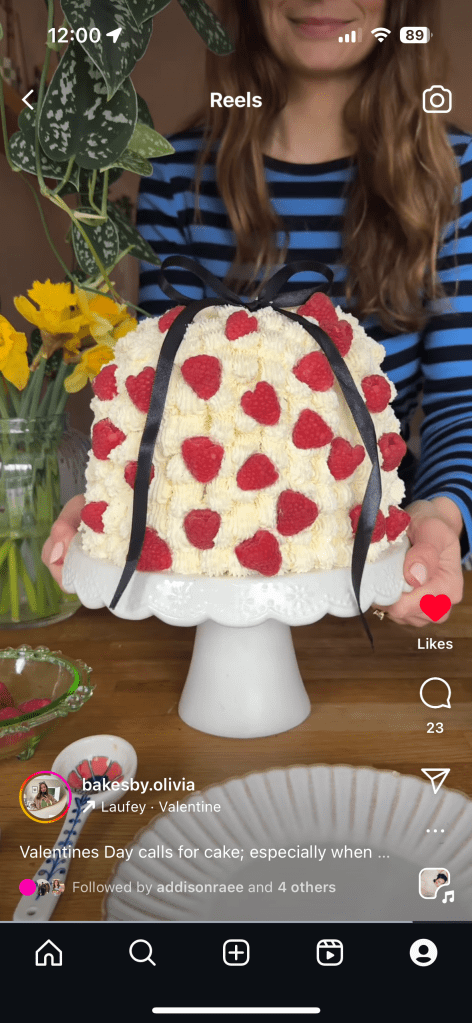
This morning, while scrolling through Instagram (as one does on a snow day!), I stumbled upon a fabulous cake made by @bakesby.olivia, and it instantly sparked joy.
A beautiful Raspberry Chocolate Cake! It was the perfect inspiration to get myself off the couch and into the kitchen.
I bundled up, braved the cold, and headed to the closest shop to gather my ingredients. Anything to make this snow day just a little better.
Step 1 – Gather your INGREDIENTs
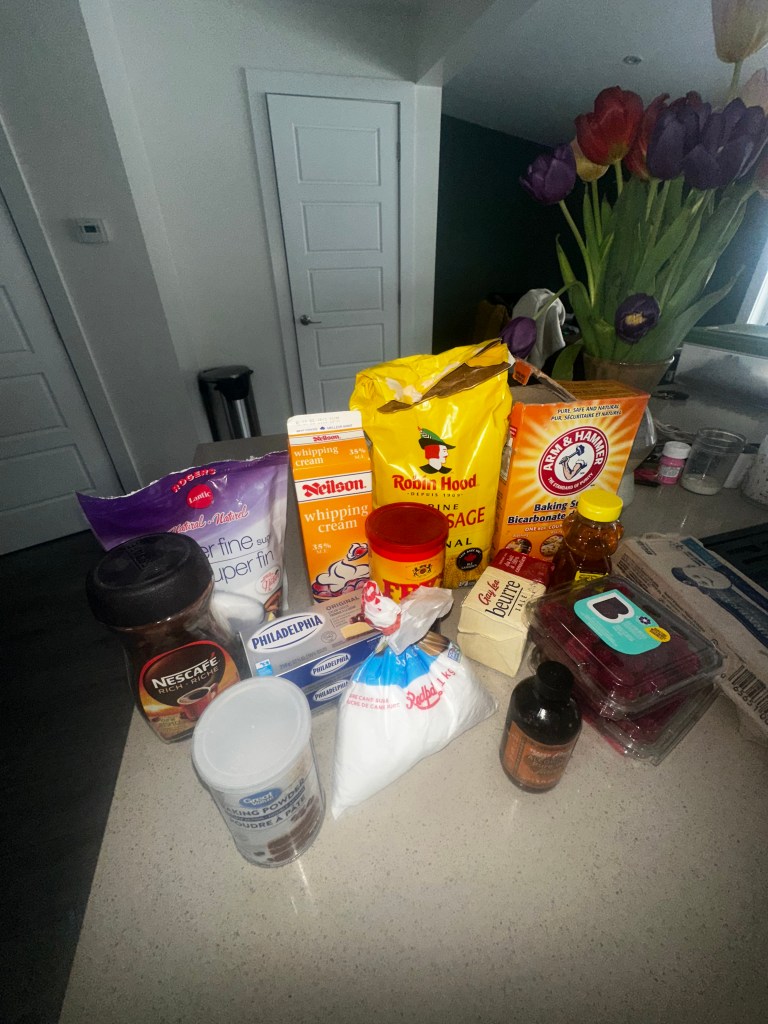
CHOCOLATE CAKE
- 1 1/3 cups plain flour
- 3 cups caster sugar
- 3/4 cups cocoa powder
- 1.5 tsp instant coffee
- 1.5 tsp baking soda
- 1.5 tsp baking powder
- 1/2 tsp salt
- 3 large eggs
- 175 ml vegetable oil (I don’t cook with vegetable oils so I subbed this with 3/4 cup of melted butter)
- 1 1/4 cups milk
- 1 1/4 cups hot water
RASPBERRY FILLING
- 1 bag frozen raspberries
- 1 Tbsp Honey
CREAM CHEESE ICING
- 2 cups double cream
- 1/4 cup icing sugar
- 2 cups of mascarpone (I subbed cream cheese for this)
- 1 tbsp vanilla
DECORATING
- Fresh raspberries
To make the exact cake Olivia is making you’ll also need 4 x 7 inch baking tins.
I didn’t have these so I used to use 2 x 9 inch baking tins. This meant I had to get a little creative with my decorating and couldn’t do it exactly like Olivia’s.
STEP 2 – THE BAKING PLAN
- Prep your Dishes: Preheat the oven to 325 degrees f and grease your caking dishes with butter.
- Bake the Chocolate Cake: I started by making the chocolate cake layers. Add all the dry ingredients together. The recipe uses simple ingredients like sugar, flour, cocoa powder, and milk. Once mixed add the wet ingredients, eggs, melted butter, hot water and milk. The key is not to over-mix the batter and to bake the cakes until they’re perfectly moist.
- Whip up the Raspberry Filling: Next, I created the raspberry filling. This involves cooking frozen raspberries with honey, on medium heat, until it thickens into a luscious sauce. Set aside a cool before attempting to add to your cake base (I learned this the hard way).
- Make the Cream Cheese Frosting: While the cake layers are cooling, (you really want them to be cold) ill prepared the cream cheese frosting. This recipe uses cream cheese, powdered sugar, and vanilla essence to create a smooth and creamy frosting. Perfect for decorating.
- Assemble the Masterpiece: Once everything is ready, and cold. I assembled my cake. I’ll spread a layer of raspberry filling between the chocolate cake layers and then frost the entire cake with the cream cheese frosting. I used a piping bag to start decorating the cake. Unfortunately, because I didn’t allow the chocolate cake to cool down enough it did not turn out as planned.
STEP 3 – bake your cake
In a large bowl, whisk together the flour, sugar, cocoa powder, espresso powder (if using), baking soda, baking powder, and salt. Add the eggs, oil (or melted butter), and milk. Mix on low speed until just combined, then gradually add the hot water, mixing until smooth. Divide the batter evenly between the prepared cake pans. Bake for 30-35 minutes, or until a toothpick inserted into the center comes out with a few moist crumbs attached. Let cool in the pans for 10 minutes, then invert onto a wire rack to cool completely.
In a medium saucepan, combine the frozen raspberries and honey. Cook over medium heat, stirring occasionally, until the raspberries break down and the mixture thickens into a sauce (about 15-20 minutes). Remove from heat and let cool completely.
In a large bowl, beat the cream cheese and butter together until smooth and creamy. Gradually add the powdered sugar, beating on low speed until combined. Add the vanilla extract and beat on high speed until light and fluffy. Try not overbeat.
VOILa
This baking therapy, was much needed on this snowy day. I was feeling very creative as I also made this little video to document the baking process and finished product! I’m excited to share more recipes.
